Spackle Ceiling Repair Services Overview
Visitors will learn about Spackle Ceiling Repair services and how to compare local contractors who handle this work.
- - Residential homeowners seeking to repair or improve ceilings with spackle damage or cracks.
- - Commercial property managers needing reliable ceiling repair services for office or retail spaces.
- - Contractors and handymen looking to connect with local pros for specialized spackle ceiling restoration.
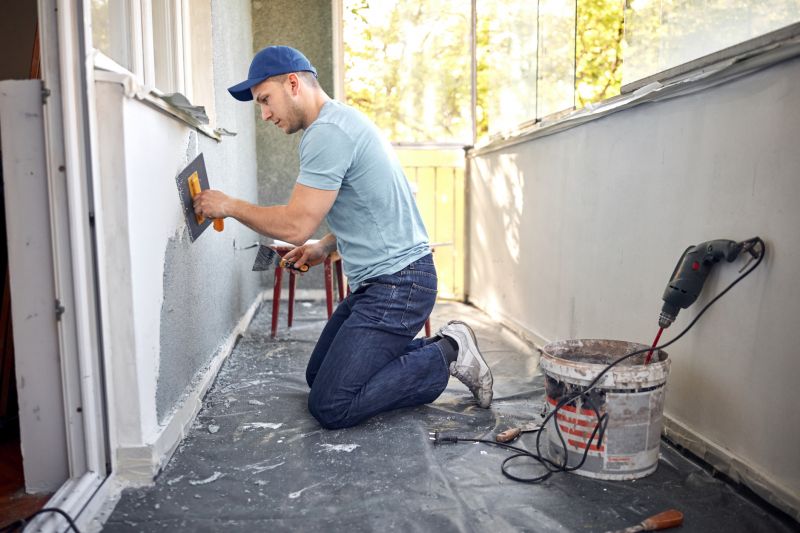
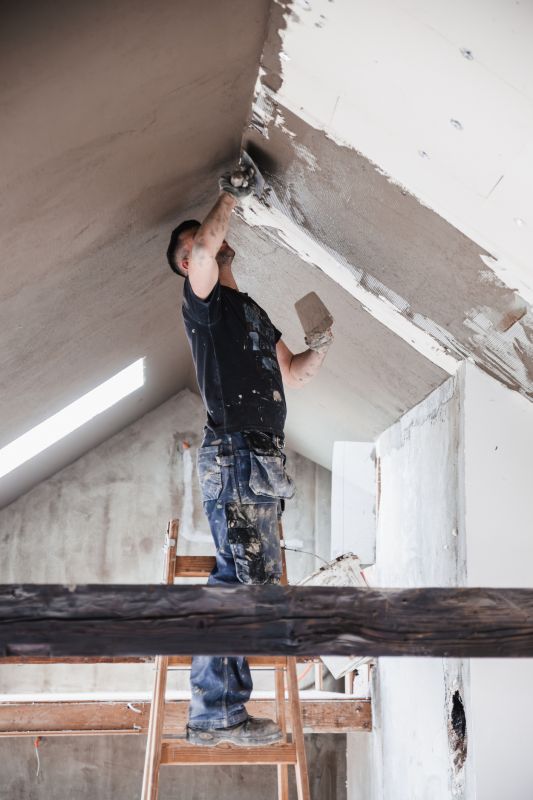
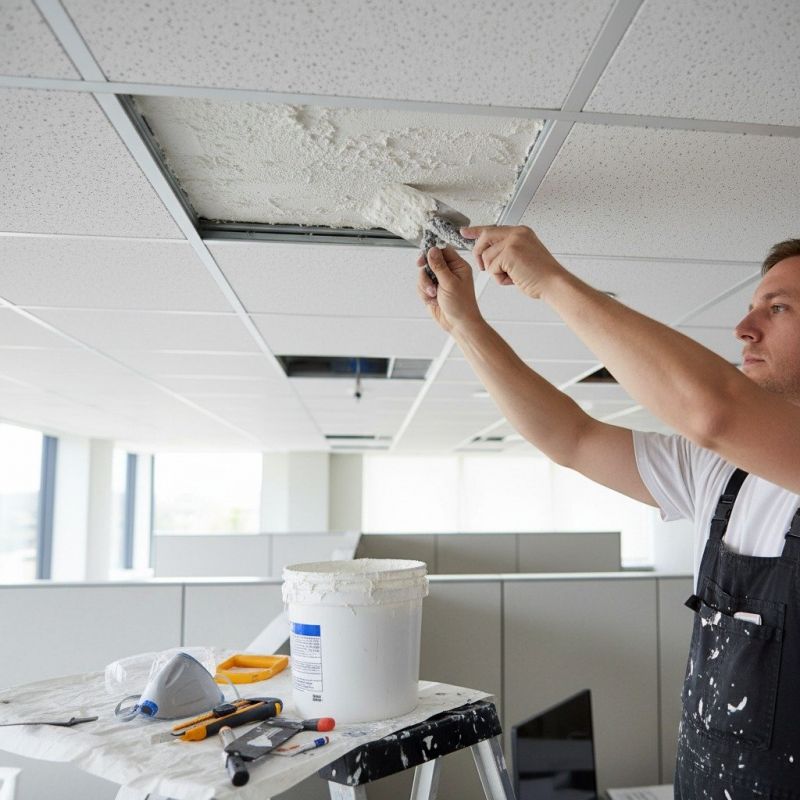
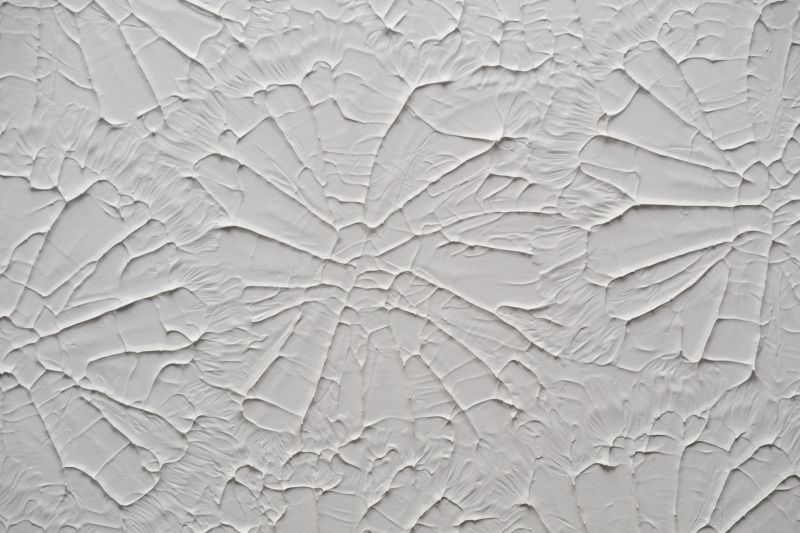
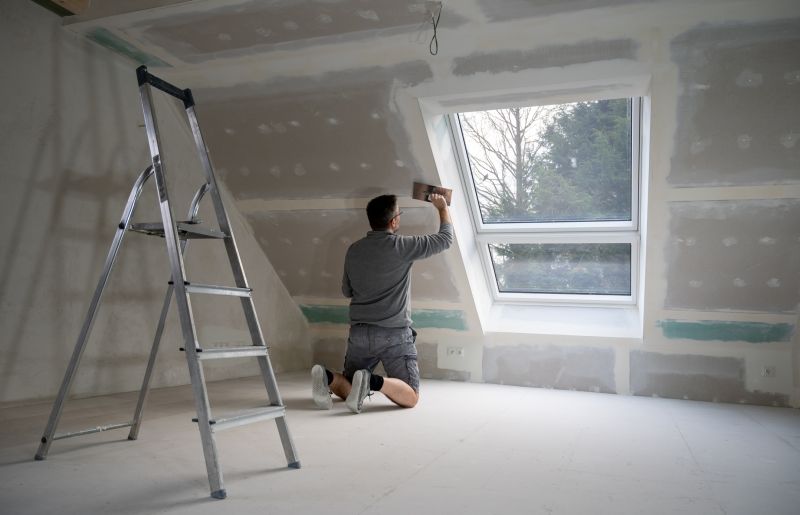
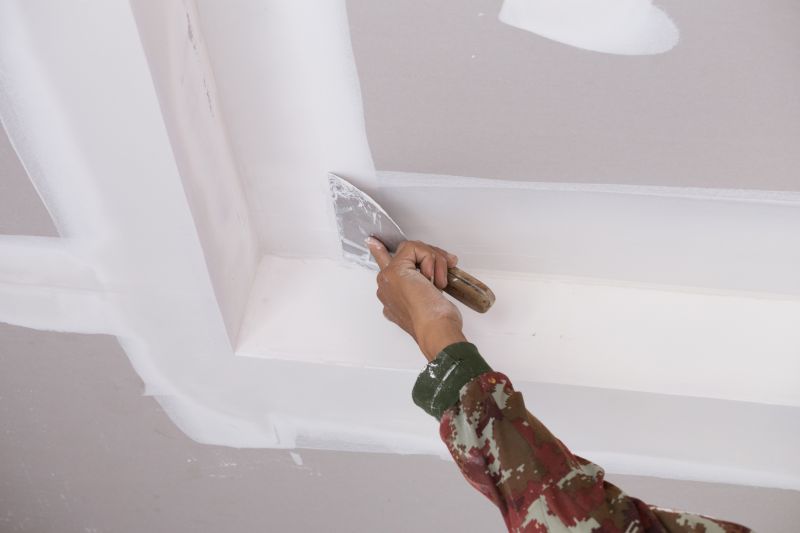
Spackle ceiling repair is a common solution for addressing imperfections, cracks, or damage in ceiling surfaces caused by settling, moisture, or impacts. When ceilings develop unsightly blemishes or structural issues, property owners often seek the expertise of local contractors who specialize in drywall and ceiling repairs. These professionals typically assess the extent of the damage, prepare the area, and apply spackle or joint compound to restore a smooth, even surface, ensuring the ceiling's appearance and integrity are maintained.
Connecting with experienced local service providers can help property owners find the right solutions for their ceiling repair needs. Whether dealing with small cracks or more extensive damage, local contractors bring practical knowledge of repair techniques and materials suited to the specific requirements of each project. They can provide the necessary services to help restore ceilings to a clean, finished look, making it easier for property owners to maintain and improve their spaces.
This guide provides helpful information to understand spackle ceiling repair and what to look for in local service providers. It assists in comparing nearby contractors and understanding the basics of the work involved. The goal is to help visitors make informed decisions and connect with qualified local pros for their ceiling repair needs.